10 Jan 2025
Post by Elowenly
Introduction
The Cupeisi 10.1 Tablet is a versatile device that features a built-in scanner, making document management convenient and straightforward. This comprehensive guide will walk you through the practical steps on how to use the scanner effectively. Whether you are scanning documents for personal, academic, or professional use, mastering the scanner functionalities of your Cupeisi 10.1 Tablet can significantly boost your productivity.
We’ll cover everything from accessing the scanner to sharing your scanned files. Follow the steps below to make the most out of your Cupeisi 10.1 Tablet’s scanning capabilities, ensuring that you can handle all your document scanning needs efficiently.
Getting Started with the Cupeisi 10.1 Tablet
First things first, ensure your Cupeisi 10.1 Tablet is fully charged and updated to the latest software version for optimal performance. Turn on your tablet and navigate through the initial setup if you have not done so already.
Familiarize yourself with the tablet’s user interface. Locate the essential apps, including the pre-installed scanner app, which we will delve into shortly. Take a few moments to adjust the screen brightness, volume, and other settings to your preference so that you have a comfortable experience during the scanning process.
Accessing the Scanner on Your Cupeisi 10.1 Tablet
To access the scanner on your Cupeisi 10.1 Tablet, follow these steps:
- Tap on the Apps icon to open the applications menu.
- Locate and tap on the Scanner app, which should be pre-installed on your device.
- Once the Scanner app is open, you should see the main interface with various options such as ‘Scan,’ ‘History,’ and ‘Settings.
Ensure that you are in a well-lit environment to help the scanner capture clear and precise images of your documents. Now that you know how to access the scanner, let’s move on to the actual scanning process.
Step-by-Step Guide to Scanning Documents
Preparing Your Documents
Before you begin scanning, gather and organize all the documents you wish to scan. Remove any staples or clips to ensure the pages lay flat. Clean the surface of your tablet’s camera and the document to avoid any smudges or dust that might affect scan quality.
Initiating the Scan Process
- Open the Scanner app and select the ‘Scan’ option.
- Position the document within the frame area displayed on the screen. The app will typically show guidelines to help you align the document accurately.
- Hold the tablet steady and press the capture button on the screen. The scanner app may automatically detect the edges and crop the image accordingly.
Adjusting Scan Settings
Once the document is scanned, you may have options to adjust various settings to enhance the scan quality:
– Brightness and Contrast: Modify these settings to improve the visibility of text and graphics.
– Color Mode: Choose between color, grayscale, or black and white, depending on your document type.
– Crop and Rotate: Ensure the scanned image is correctly aligned and remove any unwanted edges.
Review the scanned document to ensure it’s clear and legible. If needed, re-scan using the above steps for better results.
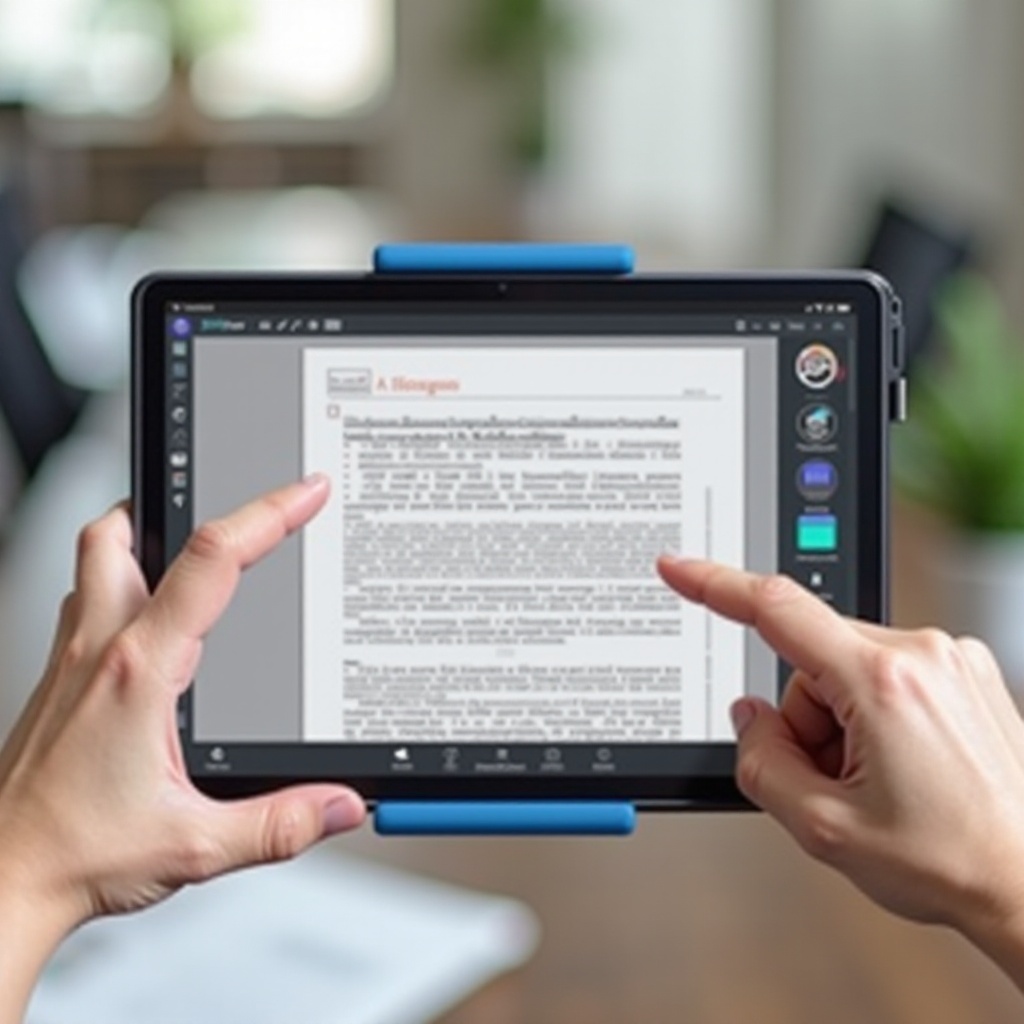
Managing and Editing Scanned Documents
After scanning your documents, managing and editing them efficiently is crucial for easy retrieval and professional presentation.
Saving Scanned Files
Name your scanned files logically for easy identification. Save them in the desired file format (e.g., PDF, JPEG) and choose a storage location on your device or external memory.
Editing and Enhancing Scans
Use the built-in editing tools in the Scanner app to enhance your scanned documents. You can:
– Apply filters to improve readability.
– Annotate the scanned images with comments or highlights.
– Merge multiple scans into a single document for better organization.
Properly managing your scanned documents ensures that they are easily accessible and professionally presented.
Sharing and Exporting Your Scans
Sharing your scanned documents is a breeze with the Cupeisi 10.1 Tablet.
Using Email and Cloud Storage
- Open the scanned document and click the ‘Share’ button.
- Select ‘Email’ to send the scanned file directly via your email application.
- Alternatively, choose a cloud storage option like Google Drive or Dropbox to save and share the document online.
Direct Sharing Options
The Scanner app also allows direct sharing through various platforms:
– Social Media: Share scans on platforms like Facebook or LinkedIn.
– Instant Messaging: Send scans through apps such as WhatsApp or Telegram for immediate sharing.
Sharing options ensure that your documents can be easily distributed to colleagues, clients, or friends.
Troubleshooting Common Scanning Issues
Despite the seamless experience intended, you might encounter some common issues during scanning:
- Blurry Scans: Ensure the camera lens is clean and hold the device steady.
- App Crashes: Restart the app or your tablet. Check for updates to the Scanner app.
- Incomplete Scans: Make sure the document is fully within the camera frame and hold the device steady until the scan is complete.
Addressing these issues promptly can improve your scanning experience and productivity.
Conclusion
Using the scanner on your Cupeisi 10.1 Tablet can streamline your document management process. By following this guide, you can efficiently scan, edit, manage, and share your documents. Experiment with the features, and soon you’ll become proficient in handling all your scanning needs with ease.
Frequently Asked Questions
How can I improve the scan quality on my Cupeisi 10.1 tablet?
To improve scan quality, ensure your document is placed on a flat surface, in good lighting conditions, and double-check that the camera lens is clean. Adjust the brightness and contrast settings as needed within the Scanner app.
What should I do if the scanner app is not working?
First, restart the Scanner app. If the problem persists, restart your tablet. Also, make sure your tablet’s software and the Scanner app are up to date. If none of these solutions work, uninstall and reinstall the app.
Can I scan multiple pages into a single document?
Yes, you can scan multiple pages into a single document. Use the merge or add feature within the Scanner app to compile your scanned pages into one cohesive file.